
Christmas card making
In the Netherlands, it has always been a tradition to send a Christmas card to friends and family during the Christmas season. Send a Christmas card to your loved ones this year, too, and make it extra personal by crafting the Christmas cards yourself! Here you see step by step how to do it!
Christmas cards to make yourself
Especially for you, Babysits has come up with 3 fun Christmas cards that you, grandma or the babysitter can make with the kids. Choose from Rudolph, a snowman or a sparkly Christmas present… or try all 3!
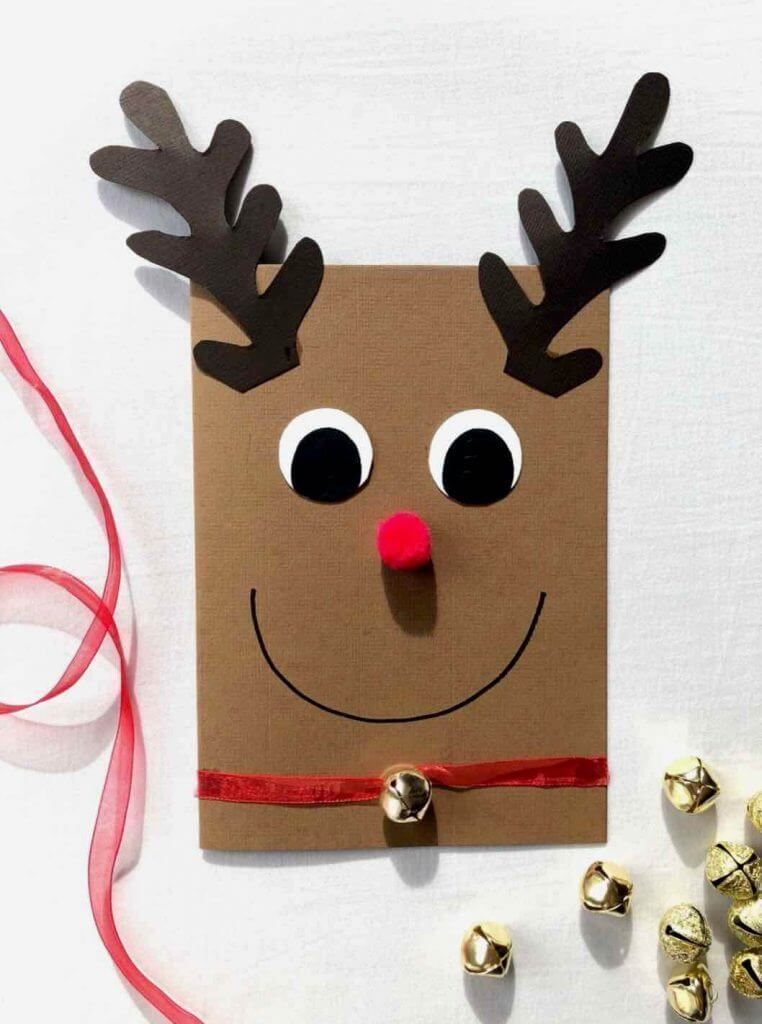
reindeer
What you need:
- Light and dark brown paper (A4) (preferably firm paper or cardboard)
- Whitepaper
- Glue
- A compass
- Black paint or a black marker
- A red pumpkin
- Redribbon
- A little bell
How to make the Christmas card step by step;
- As a first step, fold the light brown paper in half.
- Next you draw the antlers on the dark brown paper.
- Cut out the antlers next.
- Once the antlers are cut out you can glue them to the top of the light brown card.
- Use the compass to cut two white circles from the white paper. These are the eyes of the reindeer.
- Then paint two small circles black inside the larger white circles. You can also do this with black marker.
- Stick the red pompom in the center of the card. This is the red nose of Rudolf.
- Then glue the eyes on the card.
- Don't forget the mouth of the reindeer! Draw or paint Rudolf's mouth with black marker or with paint and add Rudolf's collar with bell at the bottom of the card. You can make this collar with the red ribbon and the little bell.
Snowman
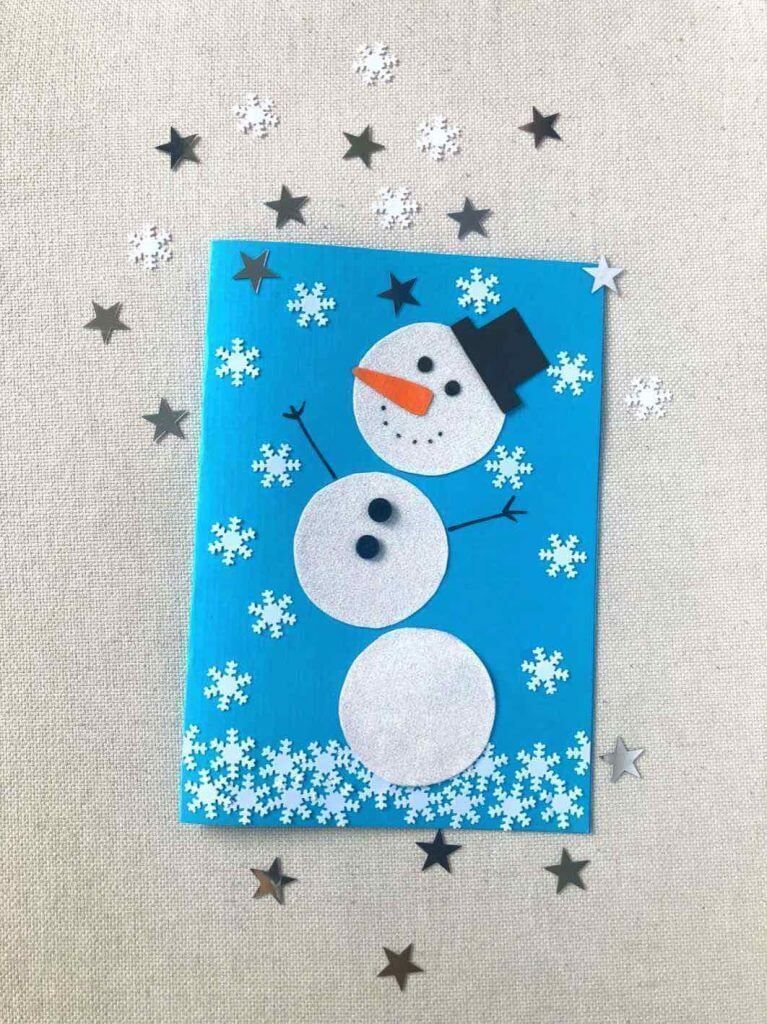
What you need:
- Blue or black paper (A4) (preferably sturdy paper or cardboard)
- White paper with or without glitter
- A compass
- Glue
- Snowflake Confetti
- Small buttons
- Orange paint or orange marker
- Black Marker
How to make the card step by step;
- Fold the blue paper in half.
- Draw three circles on the white paper with a compass and cut them out.
- Then stick the three circles on the blue card with glue to make the snowman.
- After this you can also stick the snowflakes on the card with glue.
- Next you can glue the buttons on the second circle of the snowman.
- Next, draw an orange carrot nose on the top circle of the snowman. You can do this with orange marker or orange paint.
- Cut out two small black circles and glue them on for the snowman's eyes.
- Draw with a black marker the mouth of the snowman and his arms.
- Finally, you can make the snowman's hat from the black paper and glue it to the top of the snowman's head.
Gift
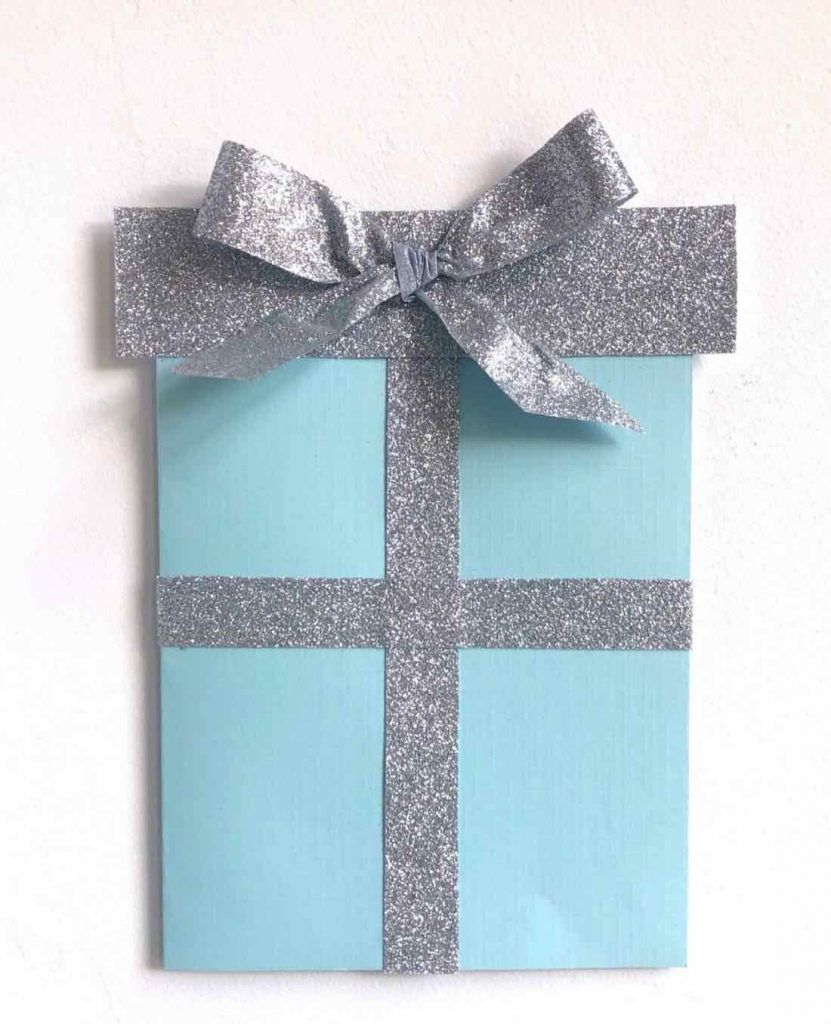
What you need:
- Blue paper (A4) (preferably firm paper or cardboard)
- Silver glitter paper
- Glue
- Silver glitter ribbon
How to make the card step by step;
- Fold the blue paper in half.
- Cut two long strips from the silver glitter paper. Make the vertical strip longer than the horizontal strip.
- Glue both strips in place
- After this, cut another strip from the glitter paper. Make sure this strip is just a little bit longer than the width of the card and a lot wider than the other two strips.
- Glue this wide strip to the top of the card.
- Cut a piece off the glitter ribbon and knot the ribbon into a bow.
- Glue the bow in place at the top of the card and voilà–you are done!
Real mail is more fun
Now that you've made these beautiful Christmas cards, it's time to send them out. That way you can send them to your sweet grandparents, for example. I am sure they will really appreciate this! Did you like this Christmas craft too? Click here for more Christmas crafts.
Do you like making your own Christmas cards, but are not so good with handiwork? Be sure to read my other blog about online Christmas card making.
photo’s image library/ Babysits is the online babysitting platform of the Netherlands. Nanny wanted? With more than 24.000 babysitting, you can easily and quickly find a reliable babysitter near you at Babysits!